
Getting Started with inblog
Learn how to sign up for inblog, choose a plan, and set up your blog with custom domain and business information.
Sign Up for inblog
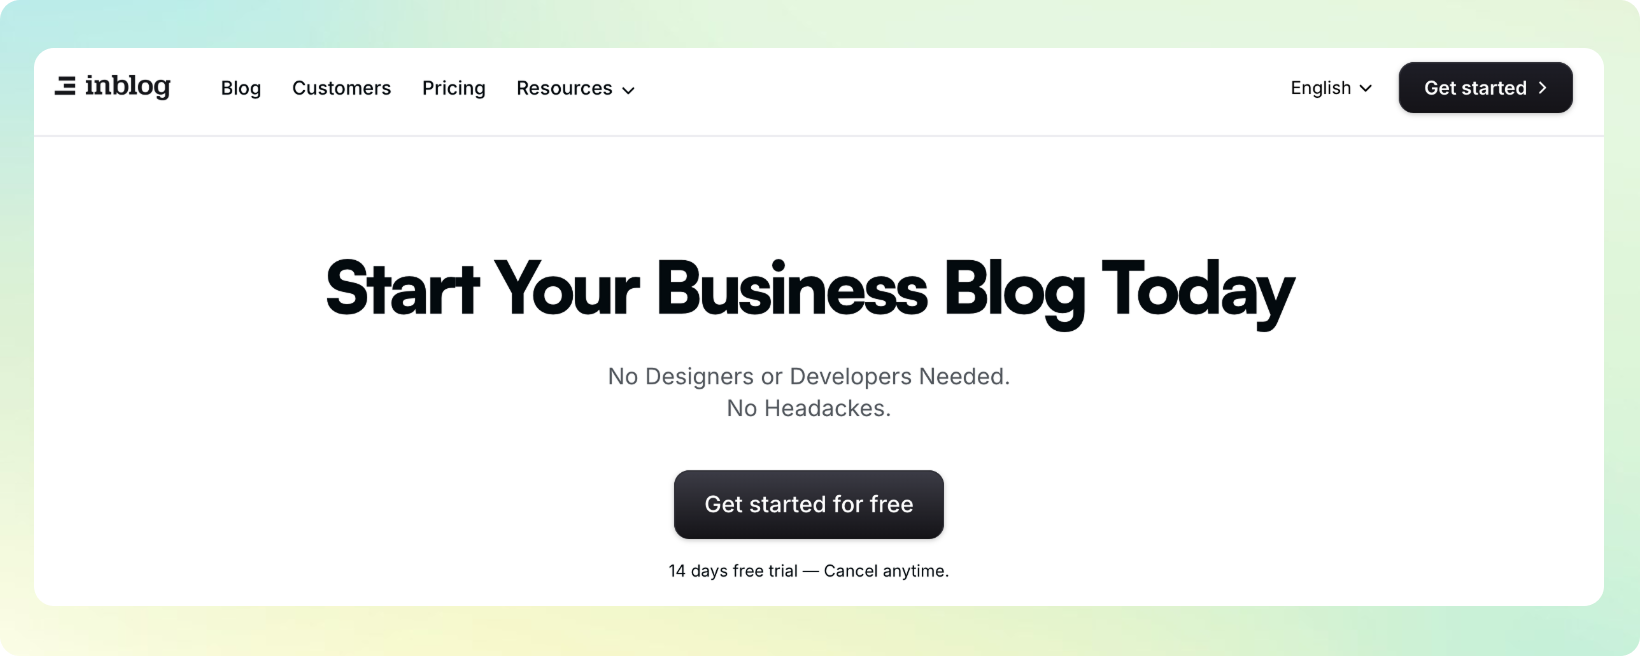
You can create an account by clicking Start your company blog in the top-right corner of the homepage, or selecting Start your company blog from the main screen.
Choose a Plan
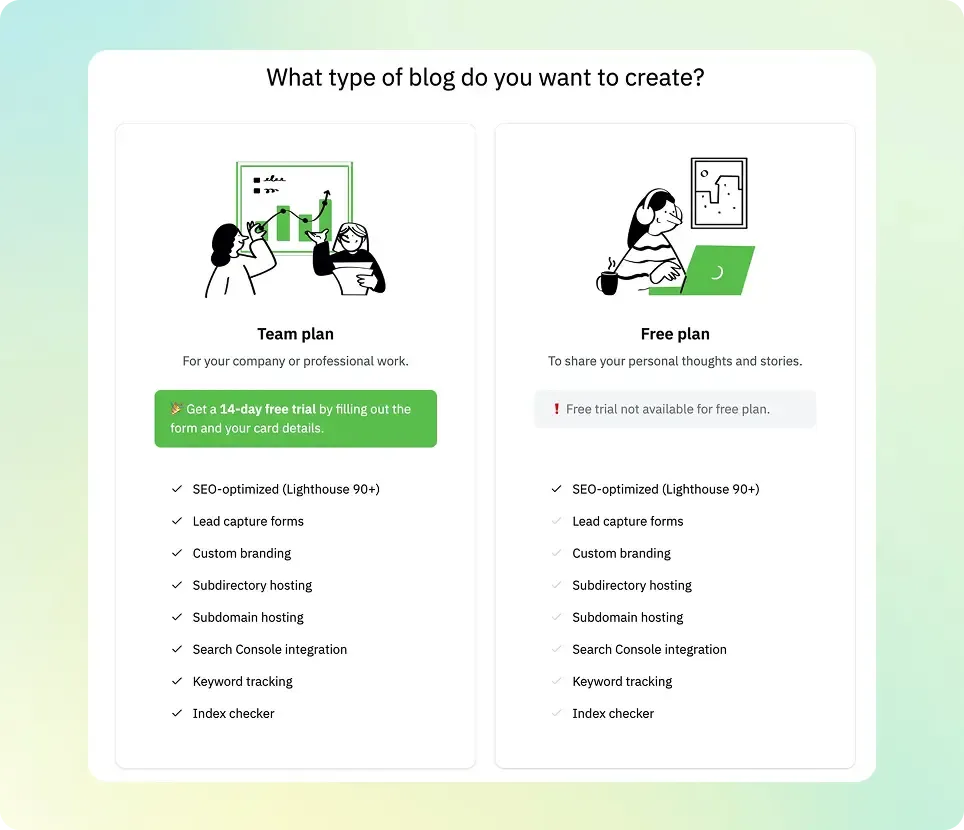
After signing up, you'll be prompted to select a blog plan.
A. Team Plan
Designed for businesses and professional blogging. Gain full access to all inblog features, including custom domain integration, lead capture forms, and custom design. You can start a 14-day free trial without a credit card. If you do not start a paid subscription during the trial, the blog automatically converts to the Free Plan when the trial ends.
B. Free Plan
Best suited for individual creators. Enjoy basic access to inblog for free. Please note that some features (such as custom domain) are limited.
Creating a Blog with the Team Plan
A. Blog Name & Address Setup
Once you've selected your plan, you'll set your blog name and blog address. (This step is the same for the Free Plan.)
Blog Title
Enter the name of your blog. You can update this later at any time.
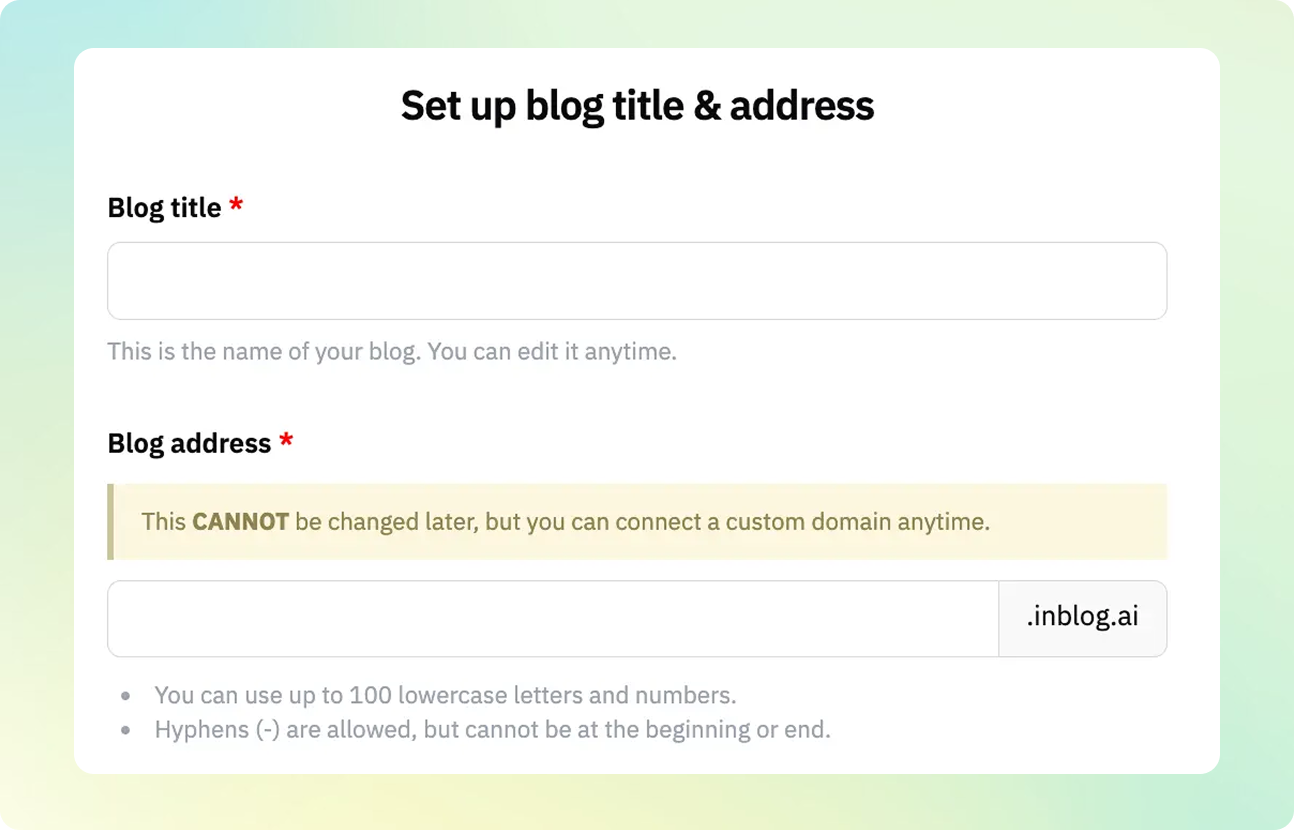
Blog Address
Choose the subdomain for your blog. For example, in example.inblog.io, you can customize the example part. (Note: Once set, the subdomain cannot be changed.) If you plan to use a custom domain later, this subdomain will not be used publicly.
Subdomains must be lowercase letters and may include hyphens (-), but not at the beginning or end.
- Examples:
company-name.inblog.io,concept-of-blog.inblog.io - Not recommended:
abc456.inblog.io,a-p-p-l-e.inblog.io
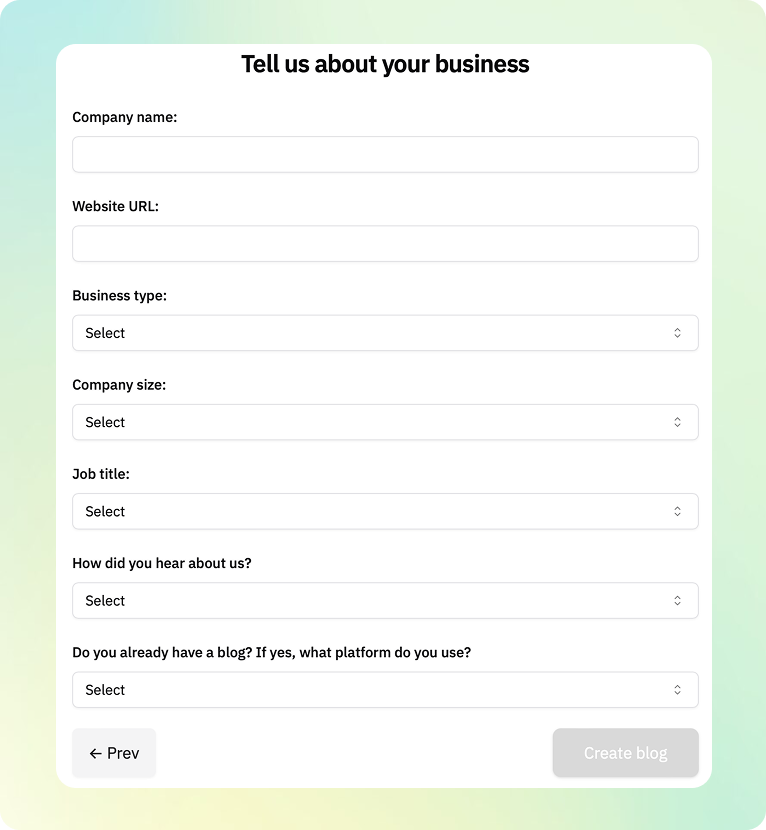
B. Business Information
Enter your company name, website URL, and other relevant business details.
C. Start Free Trial
No credit card is required to start the 14-day free trial. If you do not upgrade during the trial period, your blog automatically converts to the Free Plan.
After Creating a Blog: the Setup Screen and the Management Screen
Once your blog is created, the dashboard opens on the blog list screen. You can't write posts or change the design here — you have to click the blog card to go inside. The whole card is a single link, so the title, the address, and the empty space all lead to the same place. The address printed on the card isn't a click target but a status label: with a custom domain connected, it is followed by (verified) or (not verified) — green and pink respectively. The Start a new blog button below the list creates an additional blog, so you don't need it here. That button only appears on desktop.
Clicking the card may open the initial setup screen rather than the management screen. That's the guided flow for connecting a domain, linking Search Console, and so on. A blog on the Team Plan or the 14-day free trial that hasn't finished initial setup lands on this screen every time you click its card. Free Plan blogs skip it and go straight to the management screen.
To skip setup and go to the management screen, click I'll set up later at the top left. It's grey text next to the ← arrow rather than a button, so it's easy to miss. The link takes you straight to the management screen, and you can resume the setup steps any time from the left menu.
Inside the management screen, the left menu holds writing and everything else you need to run the blog. To change how the blog looks, go to left menu → Design, where you can set the logo, top menu, banner image, colors, post layout, and footer — then click Save at the top of the screen. See Customizing your blog design for the full list of options.
Creating Multiple Blogs Under One Account
There is no limit to the number of blogs you can create under a single account. However, each blog under the Team Plan will require a separate subscription.
To create additional blogs, click the inblog logo on the left side of your dashboard's home screen. Then click the New blog button in the top-right corner to start a new blog.
Last updated 2026-09-03